11 days gone, which last I checked is more than 7. Shitty.
Had a game night this weekend during a 3 day hiatus form work. 3 day weekends are awesome. Regularly working weekends nor so much. We played The Game of Thrones 2nd Edition. This game is bad ass and lots of fun regardless of head count. We had a group of 5 and expected an early departure for one of our guests so we gave them Tyrell so we could use the NPC tokens to take their place. He was new to the game, so not much progress was made near Highgarden to worry about. I played Starks and was ready to take the game by Round 7 but Baratheon beat me to the punch because Lannister and Greyjoy couldn't deal with them. I should have come down the coast sooner but Greyjoy was poking Moat Cailin and I couldn't risk losing it. They learned their lesson but it was too late. Way too many castles and strongholds in the south, ugh. Was a blast though.
Thoughts on customization of the game pieces:
Tracking armies is cumbersome and too involved during march orders and mustering. I think that small tokens with house sigils on banners on top of lances would do the trick nicely. Each token would have a small disc base, a spear/lance/pike elevating the piece above the top of the unit tokens, a flag/banner with house color or sigil, but numbers indicating army size on it predominately. This way you could easily identify how much of your current supply is occupied on the battlefield. I found the effort of counting armies very annoying as they changed so much and with so many marches and musters it was obvious this would alleviate the stress of that process.
The blinds use to hide your order tokens and power tokens when bidding are far too small and flimsy. Nearly every involved board game with units and cards and tokens will be in need of a storage container for use during play to easily access the pieces relevant to the action taken. I think that designing a small wooden structure that could house all the useful playing pieces would be a huge benefit to playing in groups, especially when table space is at a minimum.
There were not too many other things I thought the game could use worth mentioning. Like any other board game, these kinds of additions are completely superfluous and not needed to simply get up and go with the game. But if you're like me and want a deeper more involved and special experience when playing your game, these kinds of niche items make it so much more enjoyable.
Let me know what you think or your thoughts on The Game of Thrones 2nd Edition! Thanks.
Sunday, August 23, 2015
Wednesday, August 12, 2015
Reboot!
I recently visited the stats page for the blog and realized that there were a lot of views for the Fireball Island stuff. I know there were a lot of people that were into this thing, and I feel really bad about not being able to follow through with producing them. Many ups and downs the past 3 years...
I'm going to attempt to revisit this thing. I've wanted to for a while, I'm going to work on it. I've got ideas for other projects as well. Fireball Island, Torpedo Run, Tornado Rex, Crash Canyon, Forbidden Bridge, 13 Dead End Drive, etc. All these games have elements I'd like to create redux editions of. If anyone is visiting this page for whatever reason, please let me know why you're here and if this excites you or not.
Post again within a week regardless of progress on these projects. Promise.
Thursday, March 29, 2012
Making The Mold
So it's been a few weeks since the last post but I'm finally up and running.
Today I built the moulage mold and will prepare the mother mold this weekend. All the while I'm still working out ideas for the themes and material usage. A more in-depth update will be up later today as I work on the video of the mold making process from today!
-Rodney
Today I built the moulage mold and will prepare the mother mold this weekend. All the while I'm still working out ideas for the themes and material usage. A more in-depth update will be up later today as I work on the video of the mold making process from today!
-Rodney
Saturday, March 10, 2012
Thursday, April 8, 2010
The Finished Fireball Island
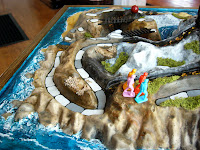
Here it is folks, the newly finished Fireball Island! What a trip it's been. What's been keeping me going is a guy out in CA who is going to be the proud owner of this piece. He's very worried about the shipment being damaged but I'm very confident in the strength of the object as well as my packing skills. Alain, the new owner, has really kept me interested in the project with his enthusiasm and excitement. We are both really into this whole thing and hope more comes from it. We talked the other night about Torpedo Run!, a very awesome game that puts Battleship to shame. I might be looking into recreating that game in the future, we'll have to see. But at the very least I am confident that I can make more Fireball Islands, and am taking offers to anyone who is interested in one. So check out the pics and stay on the look out for more boards to come. Thanks again, Alain!


Wednesday, April 7, 2010
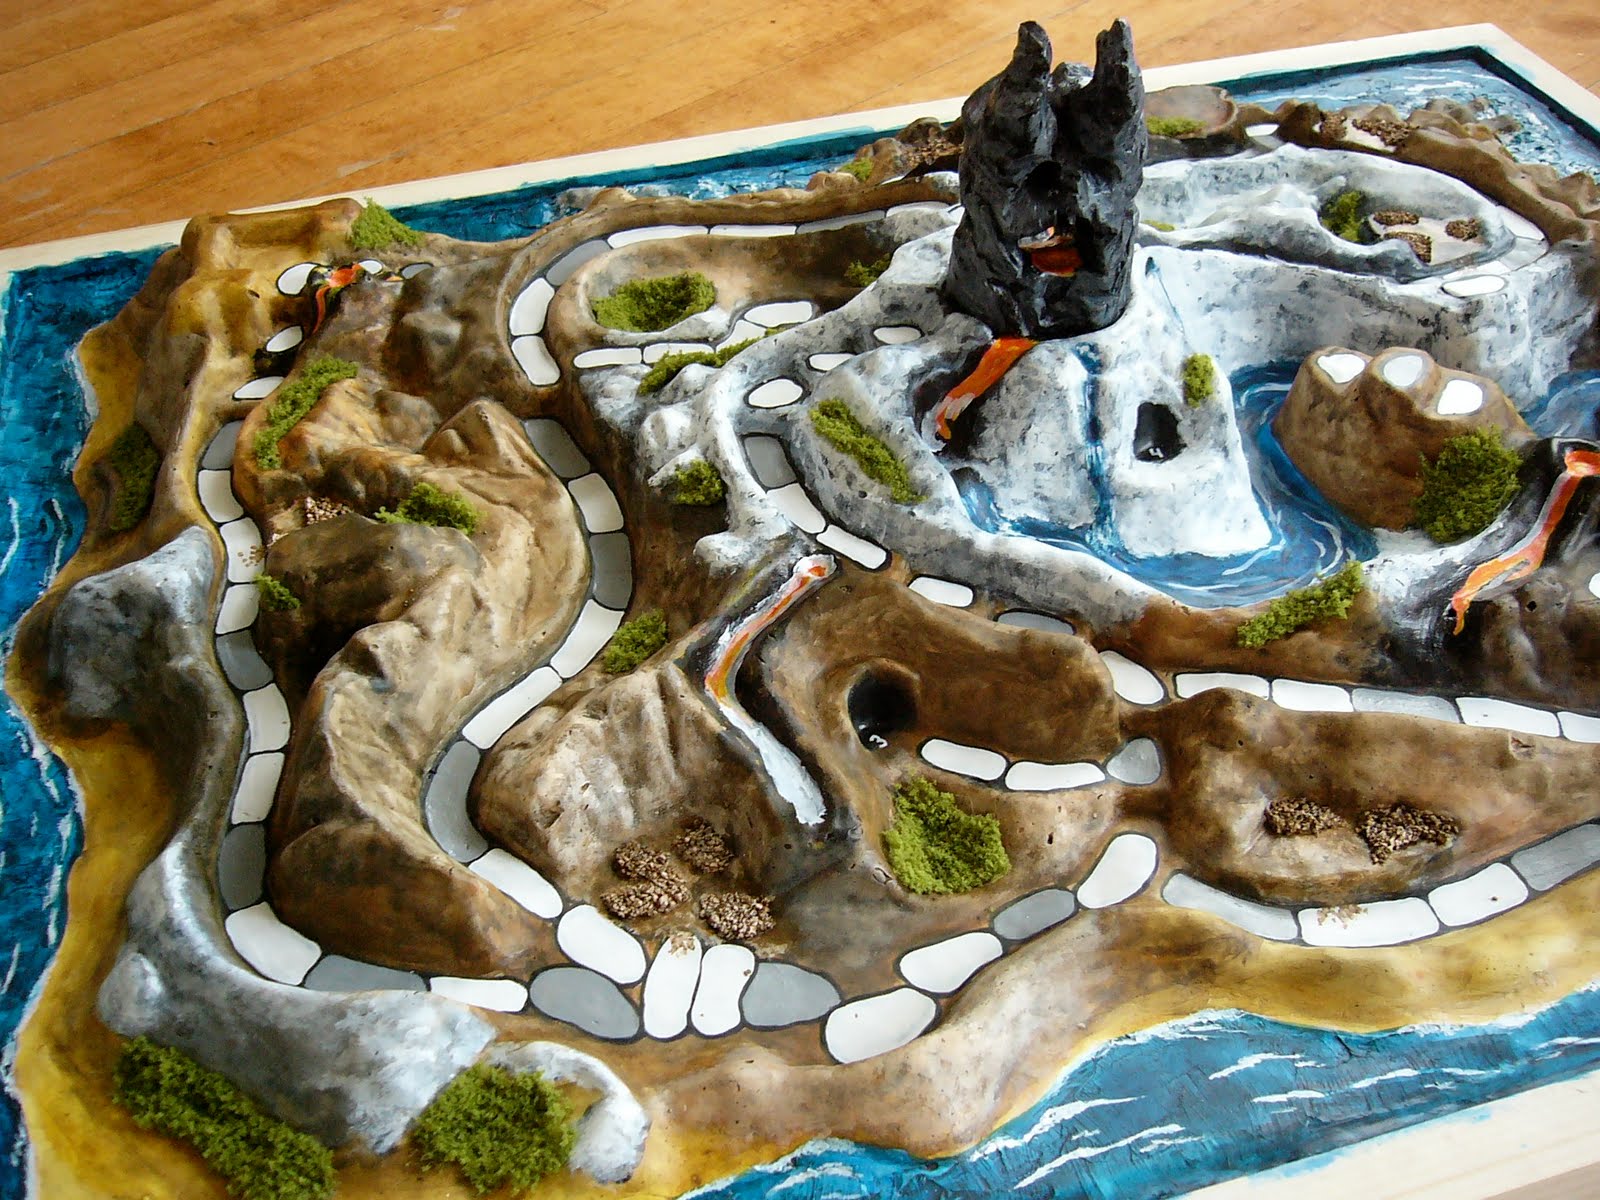
Frame Stained


Just a few pics of the newly stained and sealed frame. I've also been addressing some of the land formations and lava flow. I think it's getting much better, but not quite done yet! I feel like I say that every time though :/
EDIT: These may be a bit blurry because I took the camera off the tripod, sorry.
Saturday, April 3, 2010
Morning Light Pics


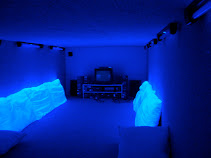
What a difference natural lighting makes, eh? More tuning to do, work work work. :)
Subscribe to:
Posts (Atom)